Answering Rules and Time Frames
Though Answering Rules and Time Frames are separate tabs, they are so interconnected that describing them together makes sense.
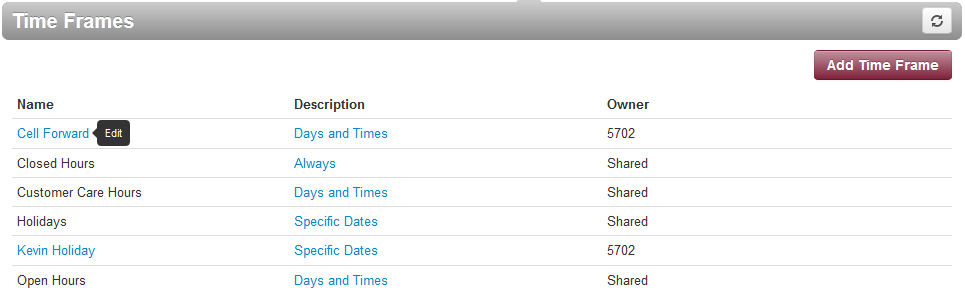
Time Frames
Time frames allow you to control the scheduling of the system. You configure time frames using the Time Frames page. To display this page, click the Time Frames icon at the top of the page:
Three common time frames are:
Open Hours (for example, M-F 9am-5pm)
Holidays (Independence Day, Thanksgiving, New Year’s, and so on)
Closed Hours (all other times)
Time frames can be both shared (system-wide and set by the administrator) or personal to your extension. You can add a time frame to your extension by clicking the Add Time Frame.
To add time frames
1. From the Time Frames page, click Add Time Frame.
The Add a Timeframe page appears.
2. In the Name field, enter a name for this time frame.
3. Next to When, select the time period when the time frame will be applied:
Always = select this option if the time frame will always be applied. Click Save to complete the procedure.
Days of the week and times = select this option to select days and times when the time frame will be applied. Proceed to “If you select Days of the week and times” on page .
Specific dates or ranges = select this option to specify a specific date or range of dates. Proceed to “If you select Specific dates or ranges” on page .
If you select Days of the week and times
Options appear for selecting days and times when the time frame will be applied (see Figure 2-8).
Figure 2-8. Setting Days of the Week and Times
Using the check boxes next to the name of each day of the week, check the days when the time frame will be applied. A blue line to the right of checked day shows the default hours for this time frame (9:00 AM through 5:00 PM).
To change the start time, drag the button on the left side of the blue bar either to the left to begin the start time earlier or to the right to begin the start time later.

To change the end time, drag the button on the right side of the blue bar either to the left to shorten the end time or to the right to lengthen the end time.
Hint: To fine-tune start and end times, click start time or end time button, and then use the left and right arrow keys on your keyboard to change the time in 5-minute increments.
By default, each day is made up of one time period. However, you can use the icon to define two time periods per day. For example, the figure below shows a setup for an office that answers calls in the morning and afternoon, and then transfers calls to an answering service over lunch, on Monday through Friday. By doing this, you would create two time frames (for example, one from 8 to noon and another from 1:00 to 5:00 PM).
Click Save to save your selections.
- The time frame appears as a row on the Time Frames page.
Hint: Moving the pointer over the blue text in the Description column shows the settings for that timeframe.

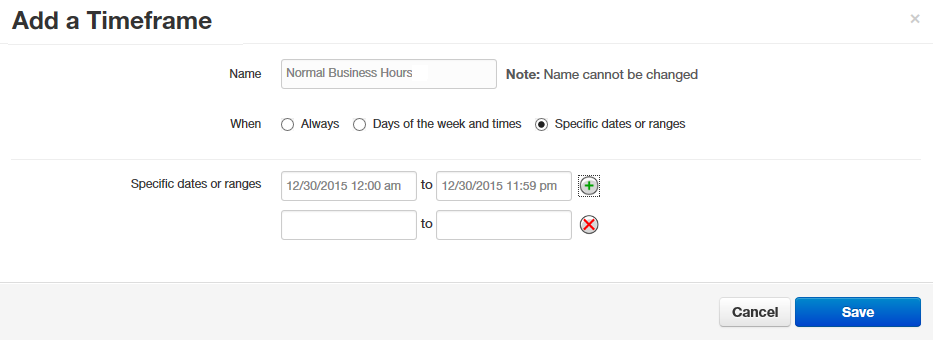
If you select Specific dates or ranges
Fields appear for entering dates or ranges (see Figure 2-9).
Figure 2-9. Setting Dates or Ranges
Click in the left field, and then select a starting date and time from the pop-up calendar.
Click in the right field, and then select an ending date and time from the pop-up calendar.
To specify additional ranges, click the icon to display another row of fields, and then repeat steps 1 and 2 in the new fields. Repeat this step for each additional date or range you want to specify. To delete a date or range, click the icon next to the appropriate row.
- Click Save to save your selections.
- The time frame appears as a row on the Time Frames page.

Hint: Moving the pointer over the blue text in the Description column shows the settings for that timeframe.

Related Articles
Portal - Time Frames
How to Create Time Frames in Power Portal Time Frames allow you to define when specific answering rules or system behaviors apply. For example, you can create a "Business Hours" time frame for weekdays and a "Closed Hours" time frame for weekends or ...Answering Rules
After you set up your time frames, you can create different answering rules for your time frames. You configure answering rules using the Answering Rules page. To display this page, click the Answering Rules icon at the top of the User Account page: ...Forward Calls with Answering Rules
After you set up your time frames, you can create different answering rules for your time frames. You configure answering rules using the Answering Rules page. To display this page, click the Answering Rules icon at the top of the page: The left side ...Typical Business use case for Time of Day Call Routing (auto forward after hours)
How to Use Time of Day Routing with Time Frames and Auto Attendants. Prerequisites This example assumes you have already built your company time frames and Auto Attendants Scenario We're looking at a typical scenario where a company works Monday - ...Admin's First Login and Overview
Welcome Email The first step in accessing your new account will be when you receive the Welcome Email. This email titled - Subject: Your new phone system account will prompt you to set a password and a voicemail PIN number for your user. Click the ...